How to Teach a Horse to Lunge: A Step-by-Step Guide

Lunging is an essential training technique that helps improve a horse’s balance, obedience, and fitness. It involves working the horse in a circle at the end of a long line, allowing the trainer to communicate commands and assess the horse’s movement. This guide will walk you through the process of teaching your horse to lunge effectively and safely.
What is Lunging?
Lunging is a groundwork exercise where the horse moves in a controlled circle around the trainer. It helps develop the horse’s muscles, responsiveness, and focus without the weight of a rider.
| Benefits of Lunging |
|---|
| Improves balance and coordination |
| Builds muscle and fitness |
| Enhances communication between horse and handler |
| Helps diagnose lameness or behavioral issues |
Equipment Needed for Lunging
Before starting, gather the right equipment to ensure safety and effectiveness:
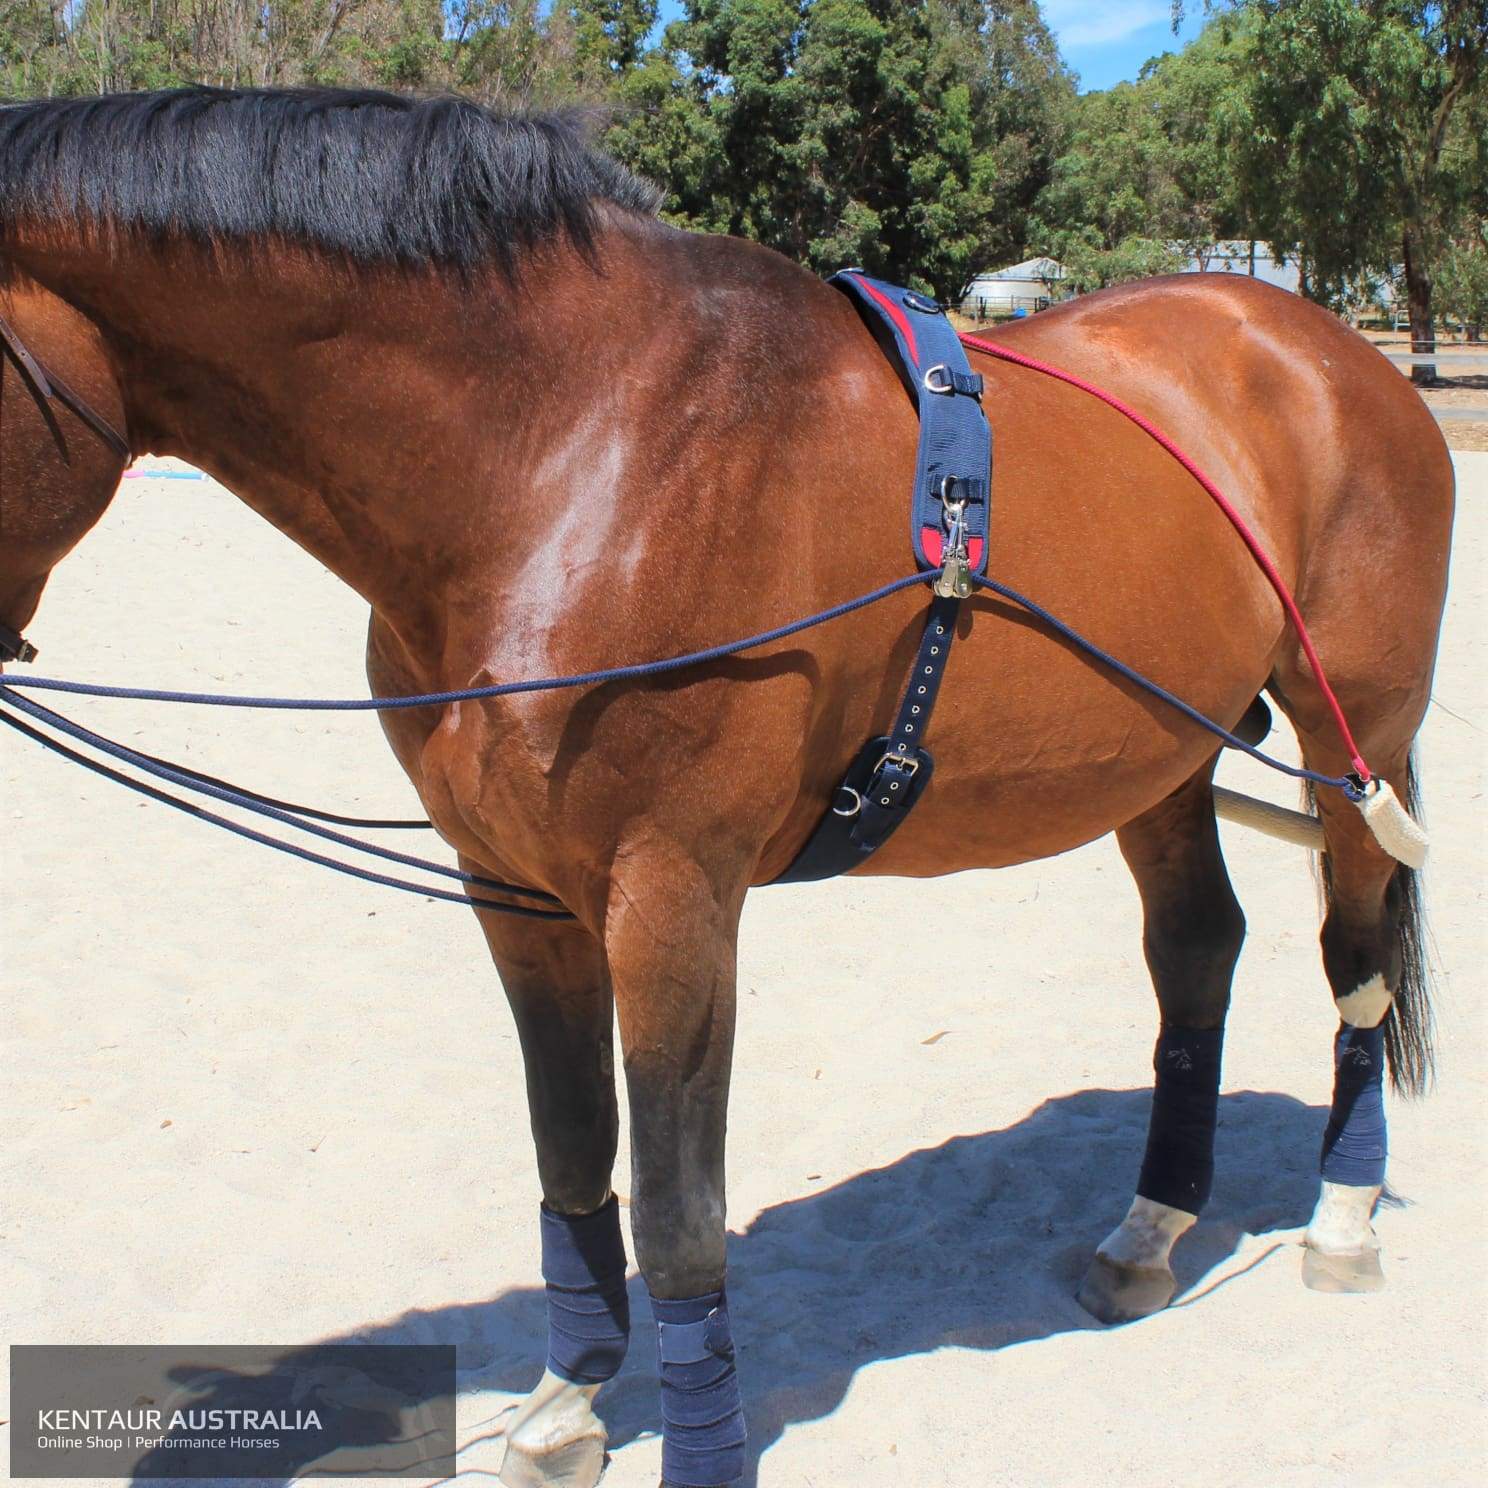
- Lunge Line: Typically 25-30 feet long, allowing enough space for the horse to move freely.
- Lunge Whip: Used to encourage movement and direction without physical contact.
- Cavesson or Lunge Cavesson: A special type of halter designed for lunging.
- Protective Boots or Bandages: To protect the horse’s legs during exercise.
Step-by-Step Lunging Process
1. Prepare Your Horse
- Begin in a safe, enclosed area like a round pen or arena.
- Attach the lunge line to the cavesson.
- Ensure the horse is calm and attentive.
2. Establish a Clear Voice Command System
- Use consistent commands such as “walk,” “trot,” “canter,” and “whoa.”
- Reinforce commands with body language and the lunge whip.
3. Start Lunging at a Walk
- Stand in the center holding the lunge line and whip.
- Encourage the horse to move forward in a circle.
- Keep the line loose but controlled.
4. Progress to Trot and Canter
- Once the horse is comfortable walking, ask for a trot.
- Use voice commands and whip cues to maintain rhythm.
- Introduce canter gradually, ensuring the horse remains relaxed.
5. Practice Direction Changes
- Change the direction of the circle to work both sides evenly.
- Use clear commands and body positioning to guide the horse.
6. End the Session Calmly
- Slow the horse to a walk and then halt.
- Praise and reward your horse.
- Detach equipment carefully.
Common Challenges and Solutions
| Challenge | Solution |
|---|---|
| Horse refuses to move | Use gentle encouragement with the whip and voice commands |
| Horse pulls on the line | Check equipment fit and use consistent reinforcements |
| Horse loses focus | Keep sessions short and engaging |
Frequently Asked Questions (FAQ)
Q1: How long should a lunging session last?
A: Start with 10-15 minutes and gradually increase as the horse builds stamina.
Q2: Can lunging replace riding?
A: Lunging complements riding but does not replace the benefits of mounted work.
Q3: Is lunging safe for all horses?
A: Generally yes, but horses with certain injuries or behavioral issues should be evaluated by a professional.
Teaching your horse to lunge is a rewarding process that builds trust and improves overall performance. With patience and consistency, you can master this foundational skill and enhance your horse’s training regimen.